This feature allows you to setup individual review items and then use them to build customized checklist reviews. When working through a checklist, each item contained with in the checklist can be marked as Passed, Failed or N/A by the reviewer. Fail codes can be created to track fail reasons.
Note: This is a Version 8 Feature. For information on obtaining this or any other feature, please contact the Sales Department
A Review Item is a checklist or review question. These items can be used in one or more Attorney Review Checklists.
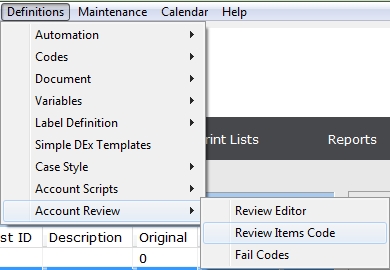
From the Main Menu Bar of CollectMax, select Definitions, Attorney Review, Review Item Codes
to display the Review Item Codes Screen.
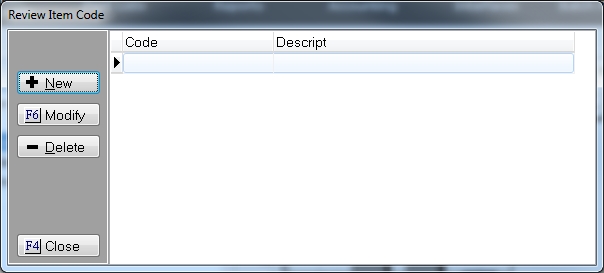
Click the  button to display the Review Item Screen.
Give this review item a Code and Description.

Hint: Please make sure the code and description you use helps you identify this item's review question. This will make it easier for you when creating your checklists.
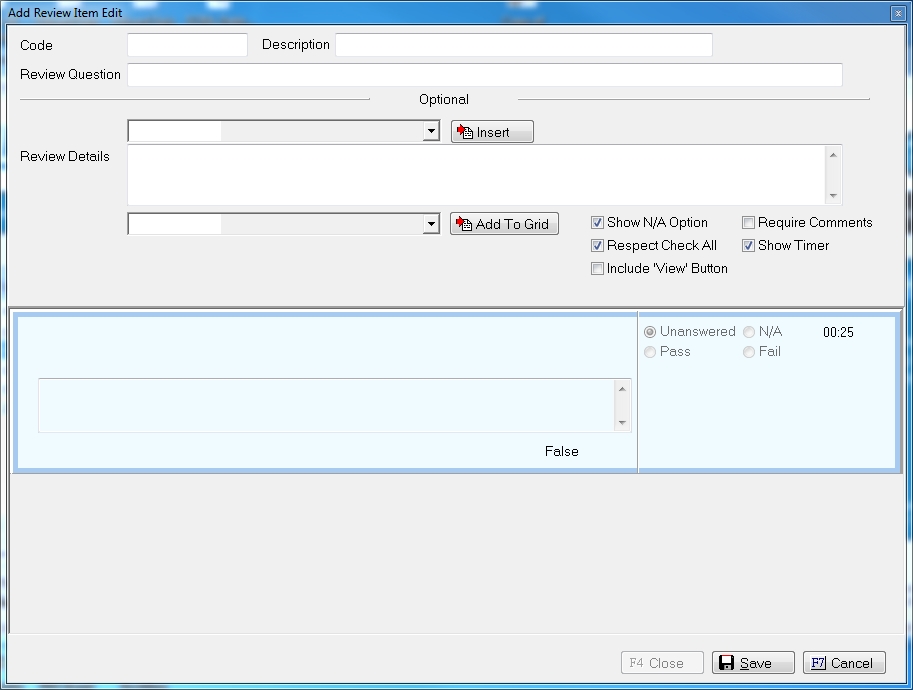
Enter your Review Question.

Hint: Review questions should be something that the reviewer must confirm on an account such as is the consumer in this state or do you have a certain image that is required.
The Review Question will be displayed in the light blue preview section.

In the Review Details, you can give your reviewer a little more detail on how to answer this question including inserting variables that make it easier to Pass or Fail the item.

Type in any helpful information or hints into the details box. If you would like to display a variable or variables in the details, click the  button to display the list of variables, select the variable needed and click the
  button. Continue until all information and all variables have been added.
The Review Details will also be displayed in the light blue preview section.

The variable will be listed in << >>.
You are also able to add variables to be displayed in a Grid under the question that may pertain to the question itself and arrange them according to preference.
To add a Grid Variable, click the button and select the variables to be displayed with the questions.

The variables selected will be displayed just under the light blue preview section.
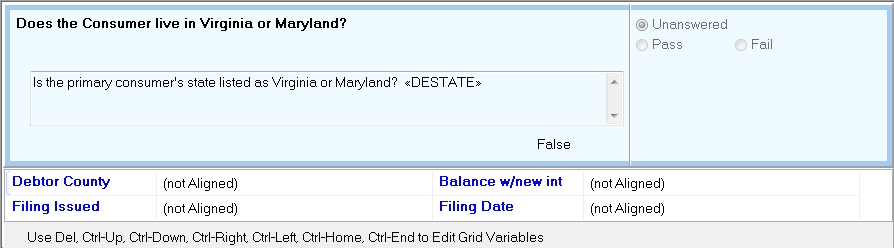
To move a variable up, down or over use the Control key and the arrows. To delete a variable, click the highlight and click the delete button. To get to the end of the grid, click Control and the end keys.
You can add as many variables as you like.
Hint: These variables will only be visible on the Attorney Review when this item is expanded for review. So be sure and add any variables that need to be seen with each item.
Select from the following Review Item Options. Check the box next to the required selections.
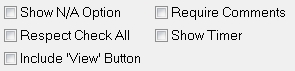
Show N/A Option: Select this box if this Review Item can be set to Not Applicable. If this Item is set to N/A during the review process, the attorney review checklist can be saved as passed even without passing this not applicable item.
Respect Check All: On the Attorney Review Checklist, you have the option of allowing a reviewer to check all items as passing. Select this option if you would like the item to participate in the check all process. Otherwise, if check all is used, this item will not automatically be checked as passed and must be reviewed manually.
Include View Button: To allow the reviewer to view another section of CollectMax, select this option. Then select from the list the type of item that is viewable from this checklist item.

Note: Currently there are only two options available; Image List and Litigation. This may expand in the future.
If selected, the reviewer can click the  button and be shown the Image List or go to the Litigation Tab directly from the checklist without having to minimize the checklist and browse to find the data in CollectMax.
Require Comments: Select this box if you require comments as to why and item failed.
Show Timer: Select this box to show the timer for the individual review question.
Once complete, click the  button to save this Review Item for use in a checklist or multiple checklists.
From the Main Menu Bar of CollectMax, select Definitions, Codes, Review Editor

to display the Review Codes Screen. Click the button to add a new Attorney Review Checklist.

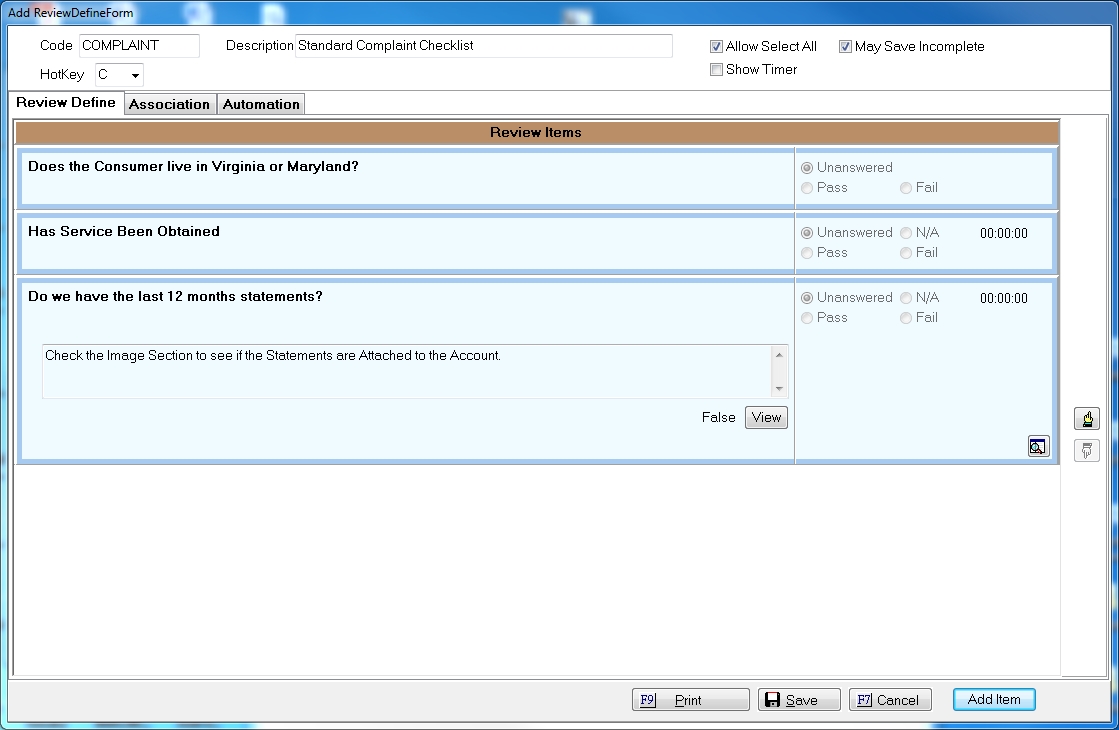
Give your Checklist a Code and Description.

Hint: Make sure the code and description you use will help you accurately identify the Checklist. This will make it easier for your reviewers to pick the proper Checklists.
Select from the following checklist options:

Allow Select All: Select this option to allow the reviewer to select all review items as passed.
Note: Any Item that does not participate in the Select All Option will not be selected even if the reviewer selects all on this Checklist.
Show Timer: Select this option to show the time spent on the checklist overall.
Note: This is for the complete checklist itself. To show the time on each time, check the item options.
May Save Incomplete: Select this option to allow the reviewer to save an incomplete Attorney Review Checklist. This would allow the reviewer to save when interrupted. Otherwise, the reviewer will have to finish the checklist, leave it open or cancel the review.
Hot Key: Select to add a Hot Key shortcut to this Attorney Review Checklist by clicking the button and selecting the hot key.
Note: There are limited Hot Key selections. It is recommended that you use the Hot Keys for your most used Attorney Review Checklists.
Minimum Review Time: Adds the ability to set a minimum number of minutes the operator or Attorney must spend reviewing the file before they can say it has passed review. See Review Minimum Time Requirements. This is a Version 10 feature. For more information, please contact our Sales Department.
On this tab, select the review items to include on this review. Click the  button to display the Review Item Select Screen.
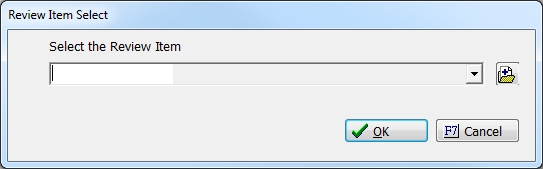
Click the and select the Review Item that should be added to this review checklist. If you do not see the question needed, you can click the  button to add a Review Item from this location.
Click the  button to add the Review Item to this checklist. Continue to add items until all review questions have been added to this Attorney Review Checklist.
You can click on any item to expand the item and review it. The expanded item has a  button. Click the button to delete this item from the checklist or insert an item before or after the selected item.
Once all items have been added to the checklist, you can reorder them by selecting an item and moving it up or down in the list using the 
 buttons.
To associate this review checklist with a specific client or clients, select the clients on the Association Tab. This review checklist will only be available on accounts who have the selected clients.
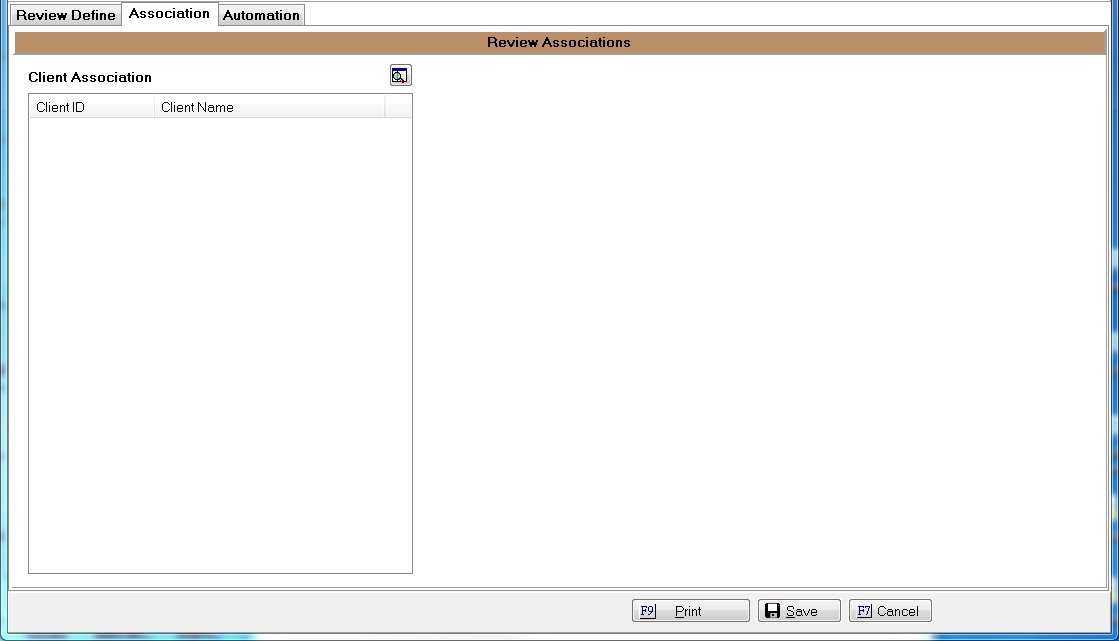
To add clients to the selected list, click the button to display the Client Selection Screen.
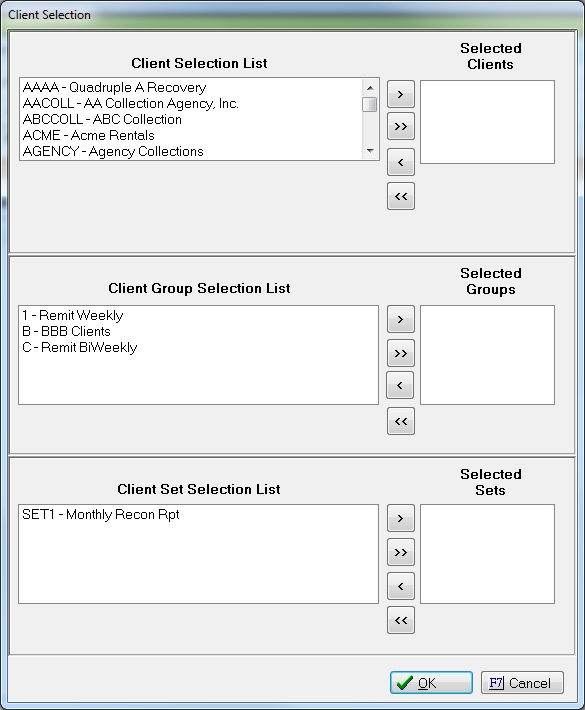
Select the Clients, Client Groups and Client Set by highlighting the selection and click the  button to add to the selected Clients sections.
Once complete, click the button to add the associated clients to this Attorney Review Checklist.
Select the Pass/Fail automation on the checklist. This automation will be fired when a checklist is completed as passed or as failed.

If a Review Checklist passes (all items are passed or not applicable), select from the following checklist completion automation options:
If a Review Checklist fails (one or more item is listed as failing), select from the following checklist completion automation options:
Note: No automation options are required, leave the option blank if you do not want or need it.
Once all options are complete, click the button to add this Attorney Review Checklist to the list of available checklists.
The Attorney Review feature allows you to create your own Fail Reasons. These will be used as a brief description for the reason a Review Checklist failed.
From the Main Menu Bar of CollectMax, select Definitions, Attorney Review, Fail Codes
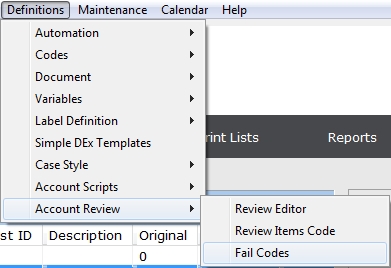
to display the Fail Reason Code Screen.

Click the button to display the Add Fail Code Screen.

Enter the Code and Description of the Fail Code. Click the button to save the fail code. Enter as many Fail Codes as needed.
From any tab on a consumer's account, click the  button to display the Review Menu.
If you have Version 9, you may also use Quick Reviews to access an Attorney Review.
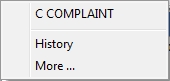
All recently used Review Checklists are listed above History on the Menu Bar. You can use your Hot Key to access any recently used Checklist. If the checklist does not appear in the Recent list, then a Hot Key will not work. You will have to access the Checklists by selection More...

Click the button and select from the available list. Click the  button to begin your Attorney Review Checklist.

Automatically, the timer will be started and the first review item will be expanded.
If you are interrupted in the middle of a Checklist and need to stop the timing, click the  . When ready to begin, click the
  button.
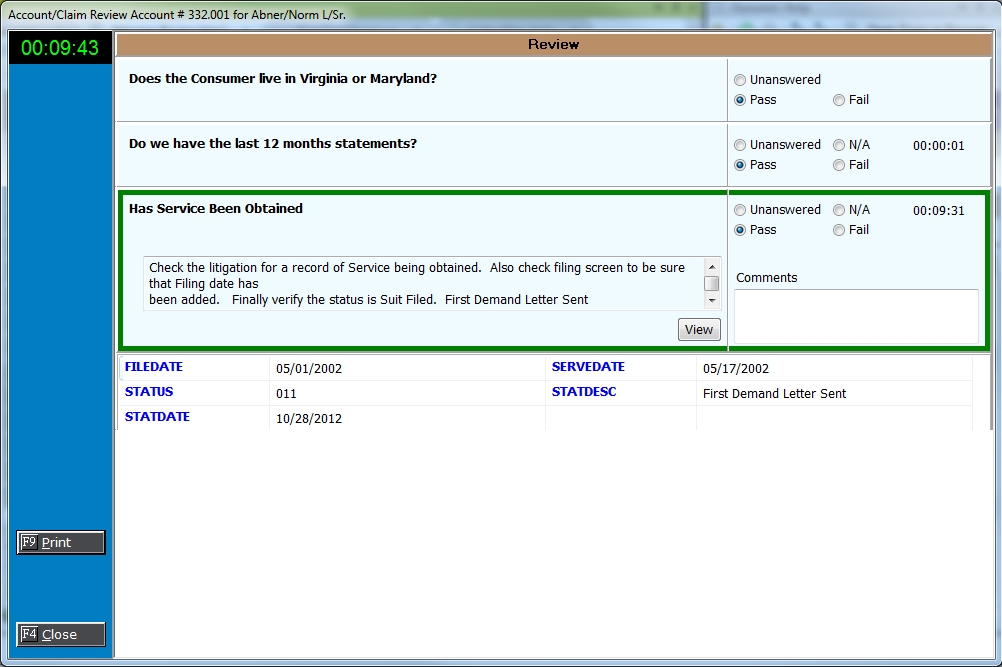
You may only expand one Review Item at a time. The expanded Review Item will be indicated by the darker blue border or box.

Read the question and review the additional comments or variables to determine the answer to the question. If this is not enough information, then you may need to view the account. Move the Attorney Review Window aside and access any tab on the account.
If the answer is yes or true, the review item should be tagged as Pass. Once you tag an item as passed, the process will immediately take you to the next item on the checklist and expand it. If you go back to look at a passed item, the item will now have a green border.

If the answer is no or false, the review item should be tagged as Fail.
After selecting Fail, the border of the item will change to red and you will be asked to give a Fail Code for the reason the item failed.

If you have required comments on this Review Item, the reviewer will have to make comments as to why this item failed.
If the answer is not applicable and the Review Item has been set to allow for N/A results, tag the item as N/A.
After tagging as N/A, the process will automatically take you to the next Review Item and expand it. If you go back and look at an Item tagged as N/A, the border will be changed to yellow.

Once an item is completed, you can click on the next item to expand it. Continue until all items have been reviewed with a Pass, Fail or N/A where applicable.
If you have done a cursor review and you want to select all items as Passed, you can click the  button.
Note: Only Review Items set to allow the Check All option, will be checked. If you find an item unanswered after using the Check All Button, you should check the options on the Review Item.
Click the  button to print a list of the review questions and their answers.
To exit a Review Checklist without saving, click the  button. This will exit the Checklist immediately without saving.
To save before completing a Review Checklist, click the  button. If the Checklist has been set to allow you to save incomplete Review Checklists, the following dialog screen will be displayed.
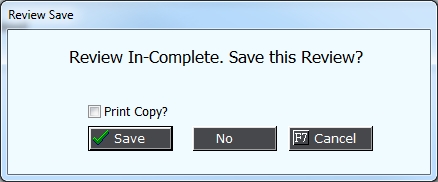
Check the box to Print a Copy of the Checklist, click button. This will save the review in Review History to be accessed and completed at a later time or date.
Once all Review Items have been answered, now is time to save your checklist and process any automations. If all items have passed, the process will automatically bring up a Review Complete message.
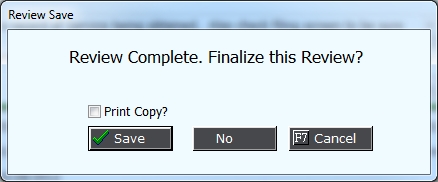
You can select to print a hard copy by checking the Box next to Print Copy. Click the button and select to print to Screen, File or Printer.
If you choose not to print, click the button to save. The Pass Automation that was set with the Review Checklist will be processed and the checklist saved in the Review History.
If the Checklist Fail or the automatic Review Complete Message does not display, you can click the button. The Pass or Fail automation that was set with the Review Checklist will be processed and the checklist saved in Review History.
If not all items have been completed, the above Review Incomplete Message will appear.
If the save button is not available, then not all items have been answered and this checklist will not allow you to save incomplete Review Checklists. If you must exit, you will have to answer all items or cancel.
From the Review Menu,
Select History to display the Review History Screen
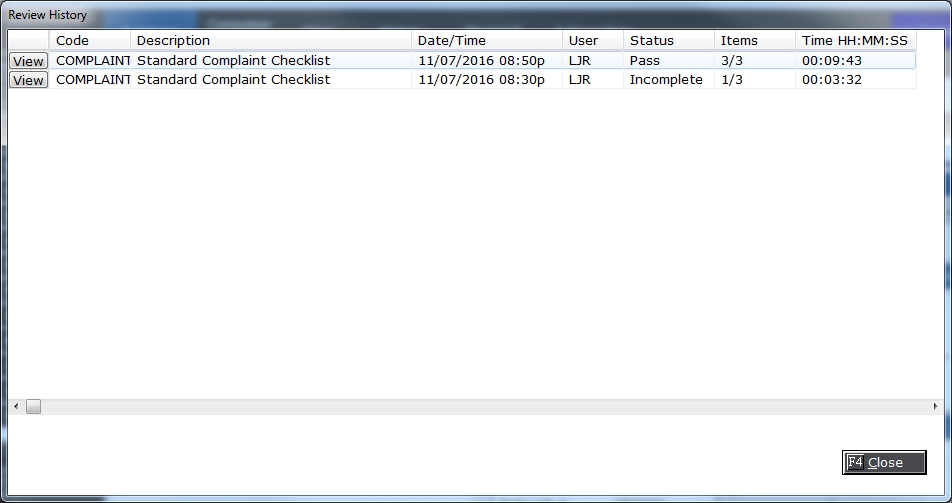
This will list all Review Checklists processed on the account. To view the Review Checklist detais, click the button.
You may print a copy from here.
Click the button on the incomplete Review and resume the checklist as seen above.
For users with MaxConditions, there are addition enhanced options for Attorney Review. See Conditional Attorney Review Features.
See Review Worklist Only Account Find.